Find Your Color Season From a Photo: The Selfie Rules That Actually Work

See your own result in 60 seconds
Your 12-season color type, best & worst colors, palette with hex codes
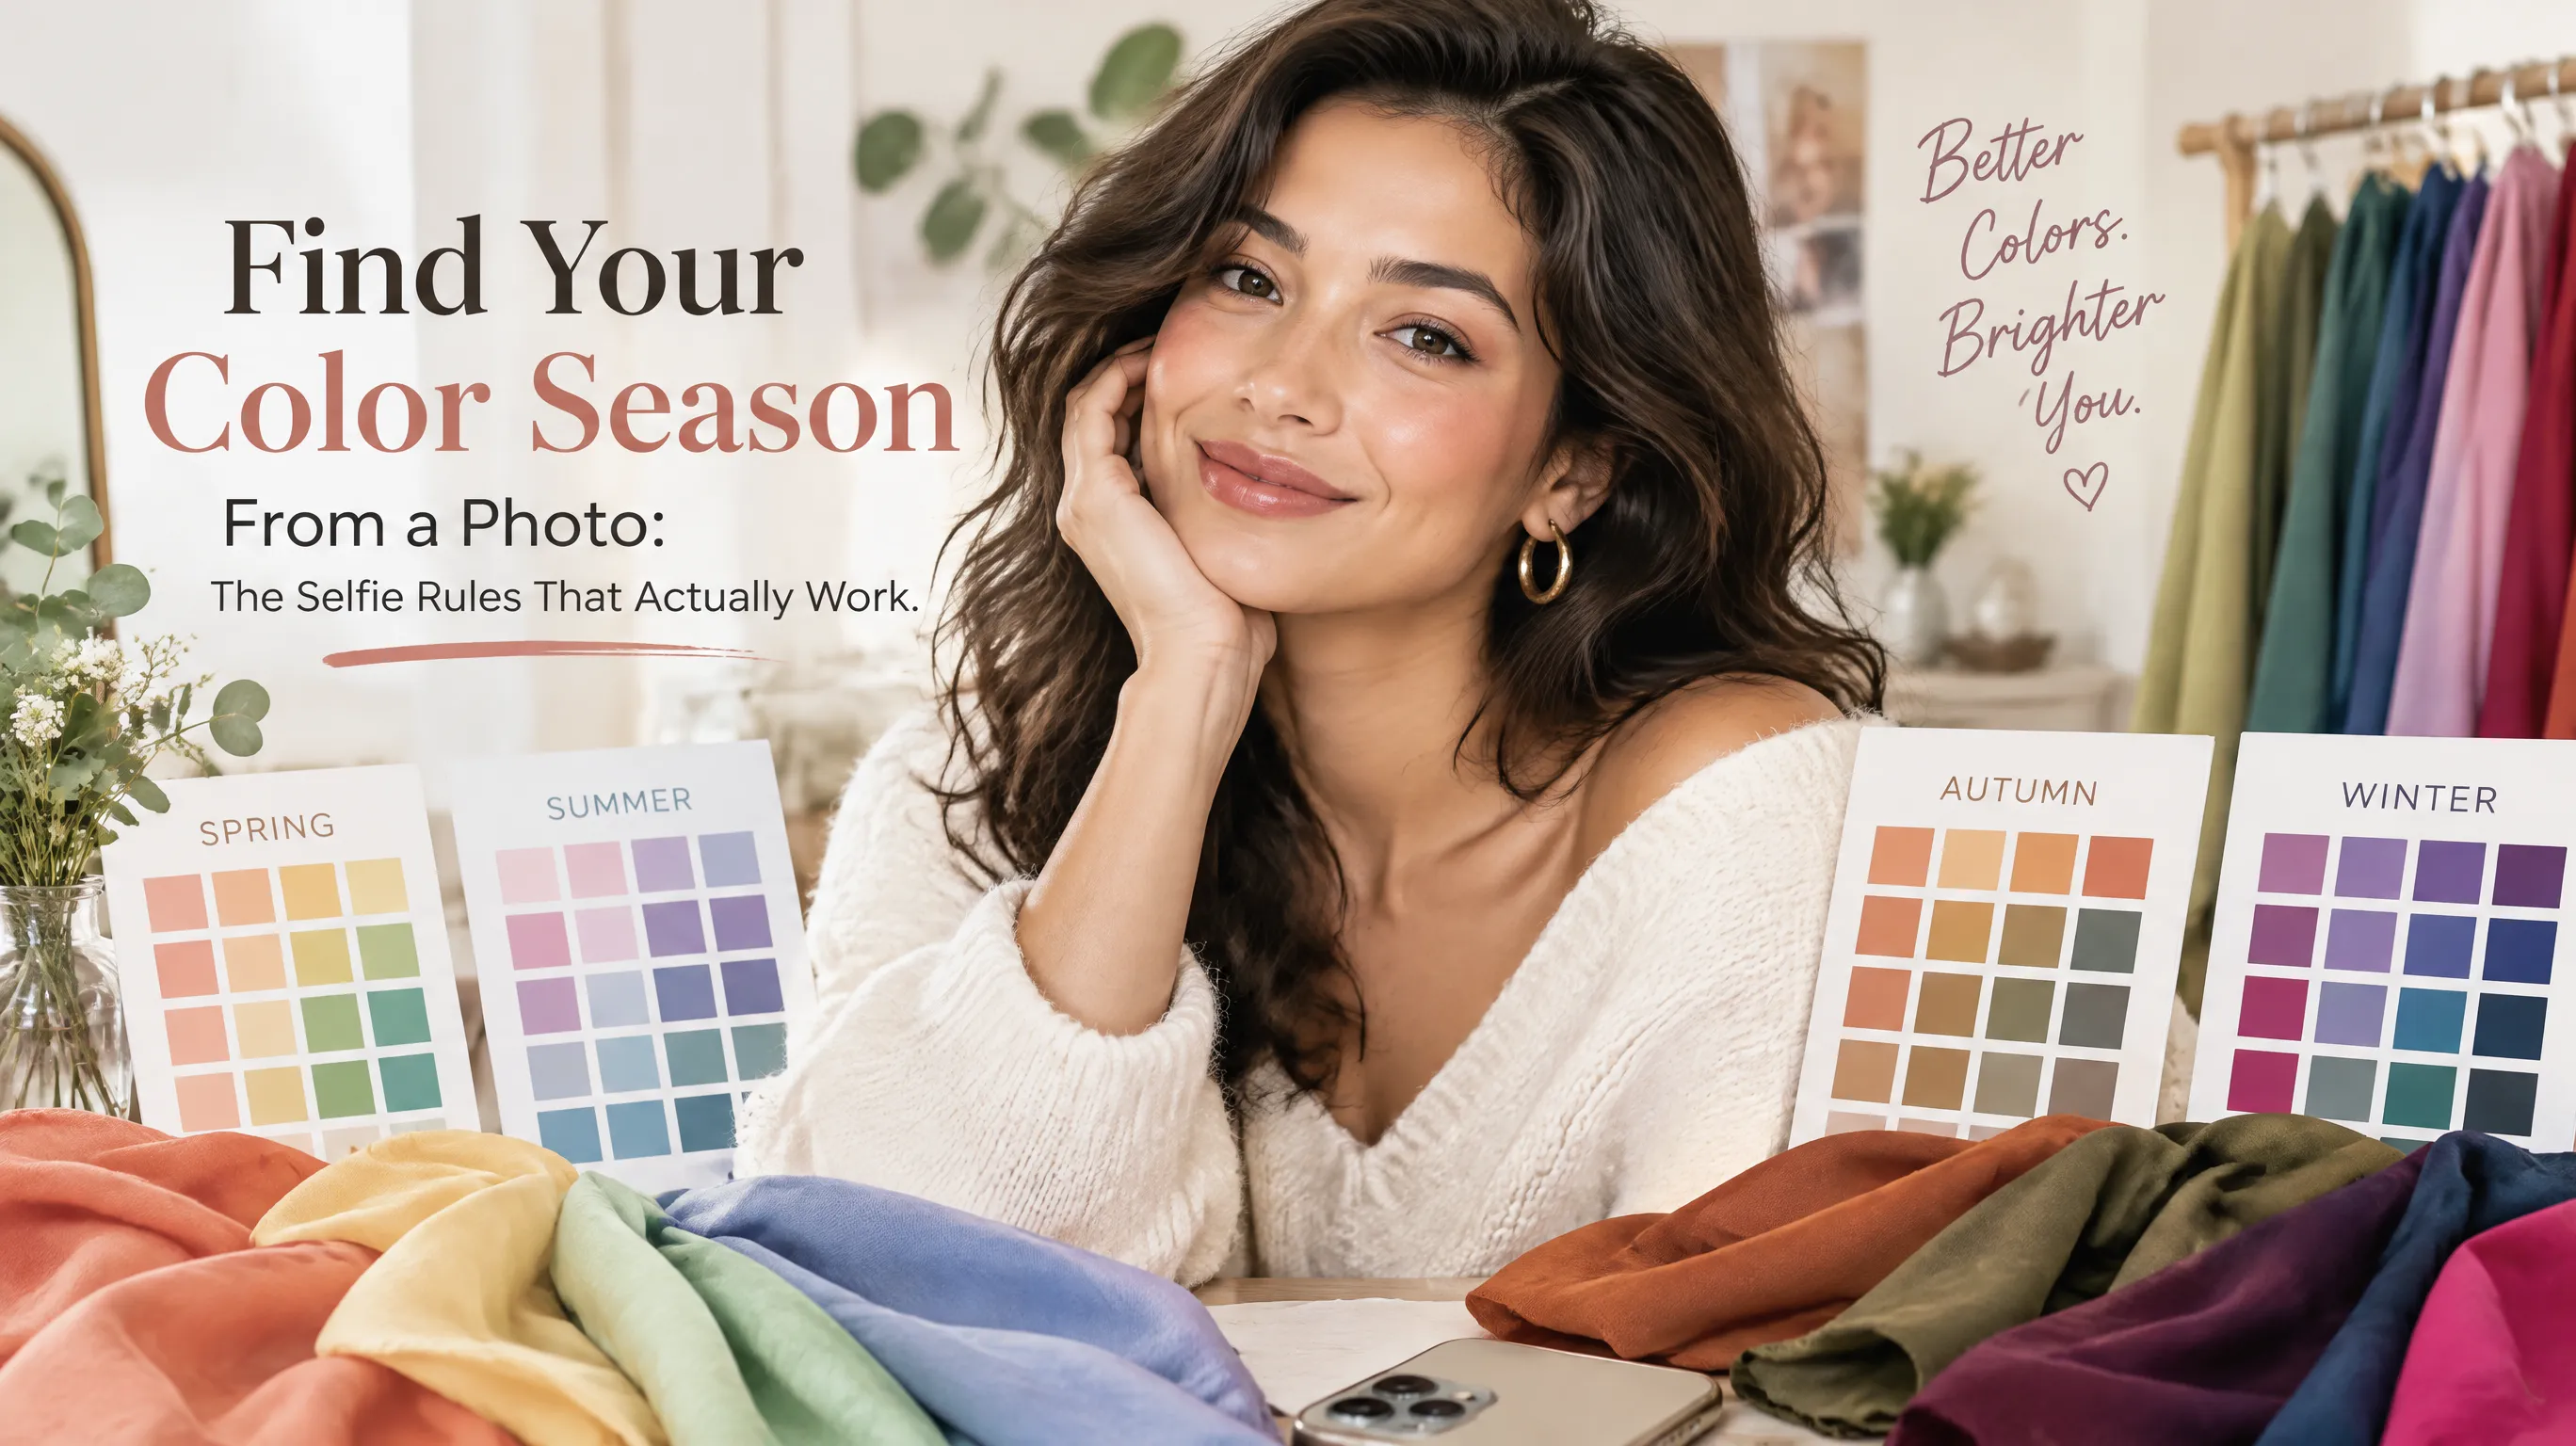
In this article · 10
- 1.Can a Photo Really Tell You Your Color Season?
- 2.What the Analysis Is Actually Reading
- 3.The 7 Selfie Rules for an Accurate Color Analysis
- 4.Mistakes That Quietly Give You the Wrong Season
- 5.Step by Step: Getting a Result From Your Photo
- 6.How to Double-Check Your Result in 3 Minutes
- 7.When Your Photo and Your Tests Disagree
- 8.Photo Analysis or In-Person Draping?
- 9.Key Takeaways
- 10.Related Articles
Can a Photo Really Tell You Your Color Season?
Quick answer: Yes, a photo can give you a solid starting point for your color season, but only if the photo is accurate. Use soft, indirect daylight, a bare face, no filters and a neutral background. Then confirm the result with a quick drape or undertone test, because a bad photo is the most common reason people end up with the wrong season.
Photo-based color analysis has one big advantage over doing it in a mirror: you can look at the same image calmly, as many times as you like, without your eyes adapting to the colors you're holding up. Its weakness is just as clear. A camera doesn't record your skin the way your eyes see it. It records light bouncing off your skin, then adjusts that light with white balance, exposure and sometimes automatic beauty processing.
That means the quality of your answer is mostly decided before any analysis happens. The seven rules below are what separates a photo that shows your real coloring from one that quietly pushes you into the wrong season.
What the Analysis Is Actually Reading
Whether it's an AI tool or a trained eye, a color season comes down to four traits:
- Undertone: whether the color beneath your skin leans warm (golden, peachy), cool (pink, bluish) or neutral
- Depth: how light or dark your overall coloring is, from skin to hair and eyes
- Contrast: the difference between your lightest and darkest features, such as pale skin against dark hair
- Chroma: whether your coloring looks soft and muted or clear and vivid
A photo captures all four, but each one can be distorted. A warm bulb adds yellow, which can fake a warm undertone. Heavy editing raises saturation, which can fake a bright chroma. Dim light flattens contrast. The goal of every rule below is to keep those four traits intact between your face and the final image.
If you want the bigger picture of how those traits map onto the 12 seasons, our color season guide walks through each one.
The 7 Selfie Rules for an Accurate Color Analysis
1. Shoot in soft, indirect daylight
This is the single biggest factor. Stand facing a bright window so the light falls evenly across your face, or step into open shade outside. A bright overcast day is ideal.
Avoid direct midday sun (harsh shadows and washed-out highlights) and golden-hour sun (it warms every skin tone). If the room has only one window, face it rather than standing beside it, so one cheek isn't brighter than the other.
2. Turn off the room lights that tint
Warm household bulbs push everything toward yellow-orange. Some cool LEDs push toward blue-white. Worst of all is mixing a window with a lamp, which gives your face two competing color casts. If you shoot indoors, switch the lamps off and let the window do the work. For more on why this happens, see how lighting affects your colors.
3. Go bare-faced
Foundation, concealer, bronzer, blush and even tinted moisturizer change what the camera sees. A lightly tinted base can hide redness or sallowness, which is information the analysis uses. Wash your face, let it settle for a few minutes, and shoot before applying anything. Lip color matters less, but a neutral lip is still better than a bold one.
4. Turn every filter and enhancement off
Beauty mode, portrait smoothing, "auto-enhance" and HDR all alter skin tone, contrast and saturation, often by raising warmth and brightness. Use the standard photo mode with no filters. If your phone applies a default look, check its camera settings and switch it to the natural option.
5. Use a neutral background and a neutral top
Colored walls and clothing bounce their color onto your skin, especially around the jaw, neck and cheeks. Stand in front of a white or light gray wall, and wear plain white or a neutral gray. If you're not sure what's on your shoulders, drape a white towel or sheet over them. It also helps a drape-based check later, because white gives you a clean reference.
6. Show your real features
Pull your hair back off your face so the camera sees your natural hairline, brows and eyes. Remove glasses, especially tinted or blue-light lenses, and take out colored contacts. If your hair is dyed, show some of your roots if you can, because dye changes the contrast the analysis reads.
7. Take three photos, not one
Hold the phone at eye level, at about arm's length, without zooming in. Don't use flash. Then take three photos: two by the window at slightly different spots or times, and one in open shade if possible. If the same season keeps coming up, you can trust it. If the results scatter, the problem is usually the light, not you.
Mistakes That Quietly Give You the Wrong Season
| Mistake | What it does to the photo | Fix |
|---|---|---|
| Warm bulb or golden-hour sun | Adds yellow, so you can look warmer than you are | Use soft daylight from a window |
| Cool LED or screen glow | Adds blue, so you can look cooler or grayer | Turn off the screen and lamps |
| Foundation or blush | Hides your real skin color and redness | Shoot bare-faced |
| Beauty filter or HDR | Boosts saturation and smooths contrast | Use plain photo mode |
| Red, orange or pink top | Reflects a pink-orange flush onto cheeks and neck | Wear white or neutral gray |
| Colored wall behind you | Casts color onto one side of your face | Use a white or gray backdrop |
| Fresh tan or sunburn | Changes your depth and surface tone for a while | Wait, or note it when you compare results |
| One photo only | A single bad light can decide your whole result | Take three and compare |
A tan is worth a special mention. It darkens your surface color for a while, but your undertone, the underlying hue, stays the same. If you've had a lot of sun lately, repeat the photo a few weeks later and compare.
Step by Step: Getting a Result From Your Photo
- Follow the seven rules above and pick your best, most natural photo.
- Upload it to an AI color analysis tool. You can try ours with one selfie in about a minute, free to start and no signup needed.
- Read the result as a profile, not just a label: which undertone, how deep, how muted or vivid.
- Save the palette, then test it. Hold a top in one of your suggested colors and one in a color you were told to avoid near your face in daylight, and watch what happens to your skin.
The AI is making a visual judgment of your image, so its answer is only as good as the photo you gave it. That is why the next step matters.
How to Double-Check Your Result in 3 Minutes
Confirm the photo result with at least one independent method. These three take almost no equipment:
- White paper test: Hold a sheet of plain white paper next to your bare face in daylight. If your skin looks yellow or golden against it, that points warm. If it looks pink, rosy or bluish, that points cool.
- Gold versus silver: Hold a gold item and a silver item against your face. Whichever makes your skin look healthier and your eyes brighter points to your undertone.
- Two-color drape: Hold a warm color (such as coral or mustard) under your chin, then a cool one (such as raspberry or navy). Pick the one that makes your face look clearer and less shadowed.
These checks speak mainly to undertone, not to the full season, so use them as a cross-check rather than a replacement. If you'd like a guided version, our free skin undertone test takes about a minute, and the color analysis at home guide goes through the full drape step by step.
When Your Photo and Your Tests Disagree
Disagreement is normal, and it's usually less dramatic than it feels. Seasons sit next to each other on a spectrum, so two methods often land on neighbors that share one trait: Soft Autumn and Soft Summer are both muted, for example, while Deep Autumn and Deep Winter are both deep.
When that happens:
- Look for the shared trait. If both answers are muted or both are deep, that trait is probably the strongest thing about your coloring.
- Retake the photo. Use fresh daylight, a different day and a clean background, and see which season returns.
- Run the neighbor comparison. Our guide to Soft Autumn versus Soft Summer shows how to separate two of the most commonly confused seasons.
- Trust consistency. The season that shows up in two or three independent methods is a safer bet than any single result.
If you land between seasons even after all of that, that's useful information too: your best colors are likely the ones the two seasons share.
Photo Analysis or In-Person Draping?
Neither is strictly better, and they answer different problems.
A photo is fast, free or cheap, and repeatable, so you can test several conditions yourself. In-person draping lets a trained person watch how your skin reacts to fabric in real time, in controlled lighting, which a single image can't fully replace. Many people use a photo first to narrow down candidates, then draping or a mirror test to settle a close call. Our comparison of AI versus professional color analysis covers the trade-offs in more detail.
Key Takeaways
- The photo decides most of the accuracy. Soft daylight, a bare face, no filters and a neutral background matter more than which tool you use.
- Light and color casts are the main traps. Warm bulbs, cool LEDs, colored walls and bright tops all push you toward the wrong season.
- Take three photos. Consistency across them is a better signal than any one image.
- Cross-check with one independent test. The white paper test, gold versus silver or a two-color drape takes only a few minutes.
- Neighboring seasons are common. When two results disagree, look for the trait they share.
A good selfie won't replace judgment, but it gives you a clean, repeatable baseline. Set up the light once, take your three photos, and you'll know within minutes whether your result holds up.
Related Articles
- How Lighting Affects Your Colors — Why the same face looks different in different light
- How to Do Color Analysis at Home — A step-by-step DIY guide with drape tests
- What Season Am I? Find Your Color Season — The four seasons and their 12 sub-seasons explained
- Free AI Color Analysis Online — How free AI color analysis works and what to expect
- AI vs Professional Color Analysis — When each method makes sense
- Soft Autumn vs Soft Summer — Separate two commonly confused seasons
- How to Determine Your Skin Undertone — Simple at-home tests for warm, cool or neutral
- Free Color Season Quiz — Take a short quiz if you prefer not to upload a photo
- Color Analysis: The Complete Guide — Everything you need to know about finding your best colors
Want to try AI color analysis yourself?
Upload one photo and get a magazine-level beauty report in 60 seconds.
Start Free AnalysisRelated Posts
I Tried Color Analysis on My Entire Friend Group — 5 Women, 5 Seasons, 5 Surprising Lessons
What happens when five friends discover their color seasons together? A personal story about the surprises, the arguments, and the shopping spree that followed.
Seasonal Color Analysis for Makeup Beginners: A No-Overwhelm Guide
New to makeup? Learn how your color season turns a chaotic makeup bag into a simple 5-product starter kit. A beginner-friendly guide to foundation, blush, lip, eye, and brow shades that actually suit you.
Color Clashing on Purpose: How to Break the 'Rules' of Color Analysis Stylishly
Think you must stick to your seasonal palette forever? Here's how to intentionally clash colors while still looking polished — using color theory principles that actually work.
How Color Theory From Art Class Applies to Your Personal Style
The color wheel isn't just for painters. Learn how complementary colors, analogous harmonies, and contrast principles from art school can transform how you get dressed every morning.